Week 3 Arduino-Coding-Programming
I tried make project using Arduino.
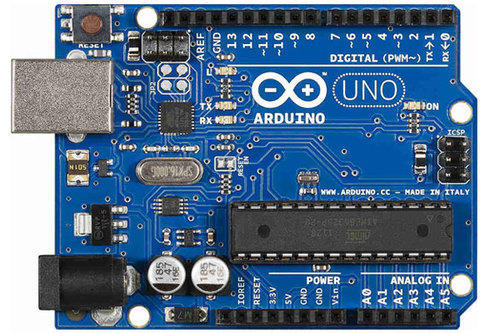
Arduino
· What is a Arduino?
Arduino programs are written in the Arduino Integrated Development Environment (IDE). Arduino IDE is a special software running on your system that allows you to write sketches (synonym for program in Arduino language) for different Arduino boards.
Download Tutorial
· About Software
This is Arduino softwatre in which you put your code and you compile it and pload it.
Smart Water Management
In this project i make one water management system which help to stop water waste Water resource management is the activity of planning, developing, distributing and managing the optimum use of water resources.Ideally, water resource management planning has regard to all the competing demands for water and seeks to allocate water on an equitable basis to satisfy all uses and demands.
· Resources
>· ESP8266 NodeMCU
>· Liquid / Water Flow Sensor
>· Solder Less Breadboard
>· Solder Less Breadboard
>· jumper Wires
>· Ultrasonic Sensor
>· Potentiometer
· Objective
·Thingspeak
·Nodemcu
What is ThingSpeak
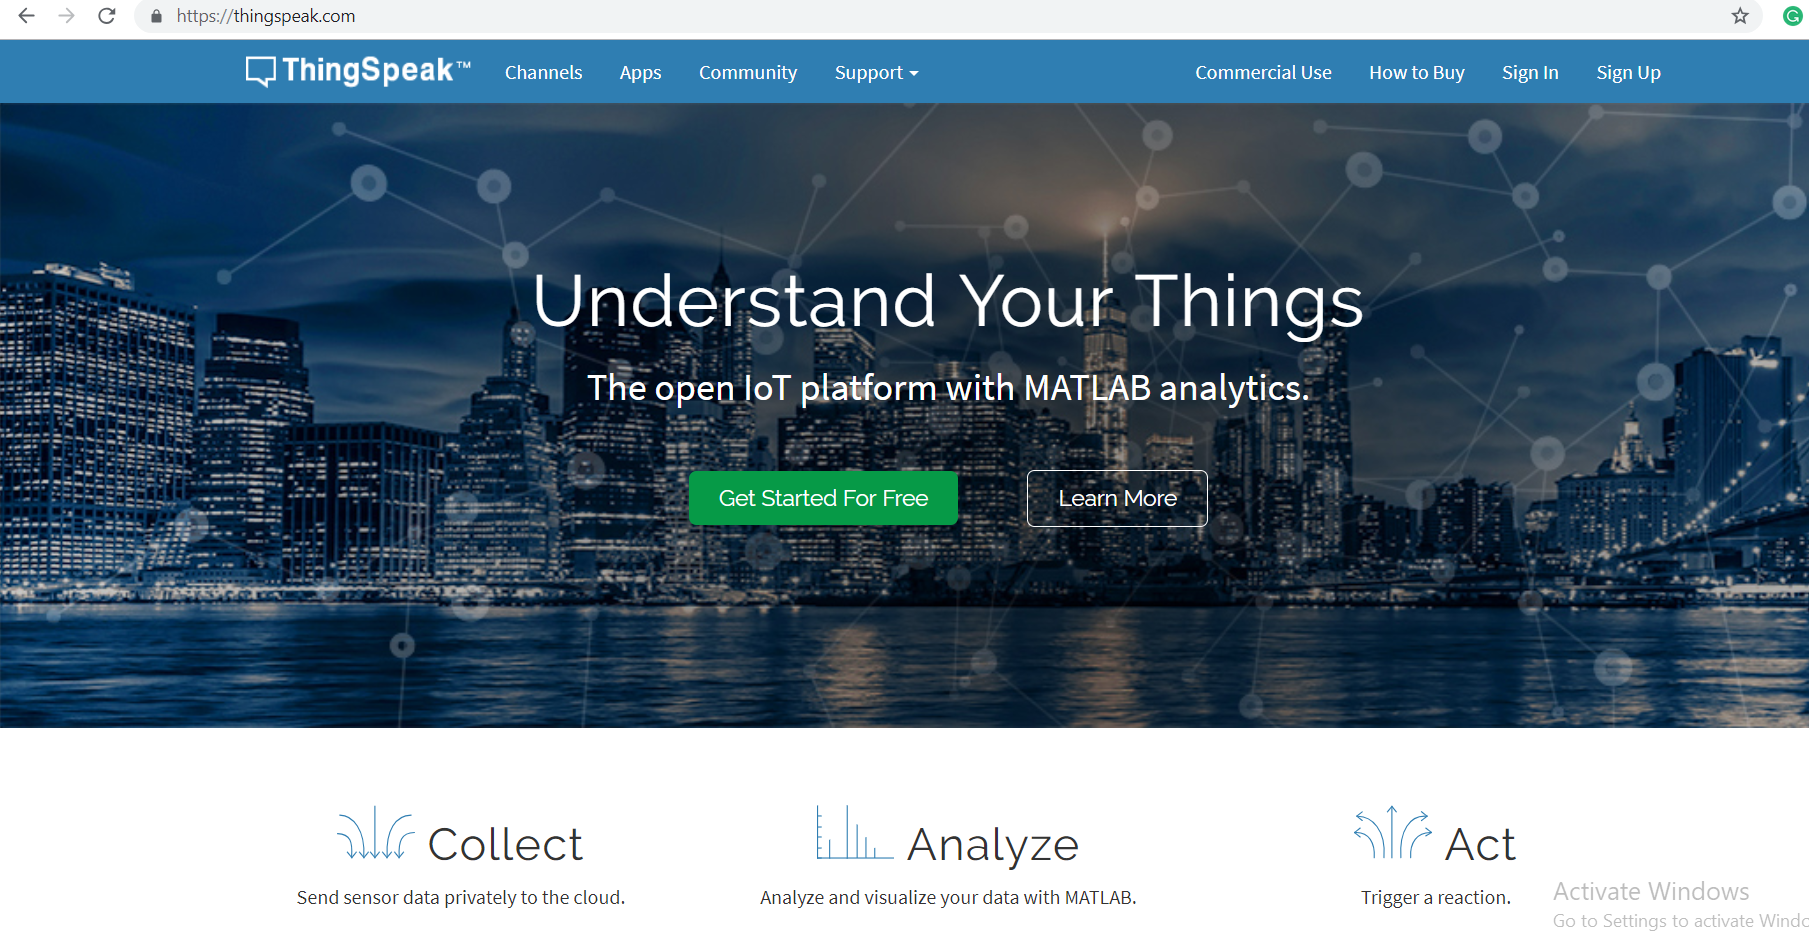
ThingSpeak is an IoT analytics platform service that allows you to aggregate, visualize and analyze live data streams in the cloud. ThingSpeak provides instant visualizations of data posted by your devices to ThingSpeak. With the ability to execute MATLAB code in ThingSpeak you can perform online analysis and processing of the data as it comes in. ThingSpeak is often used for prototyping and proof of concept IoT systems that require analytics.
How to sign in
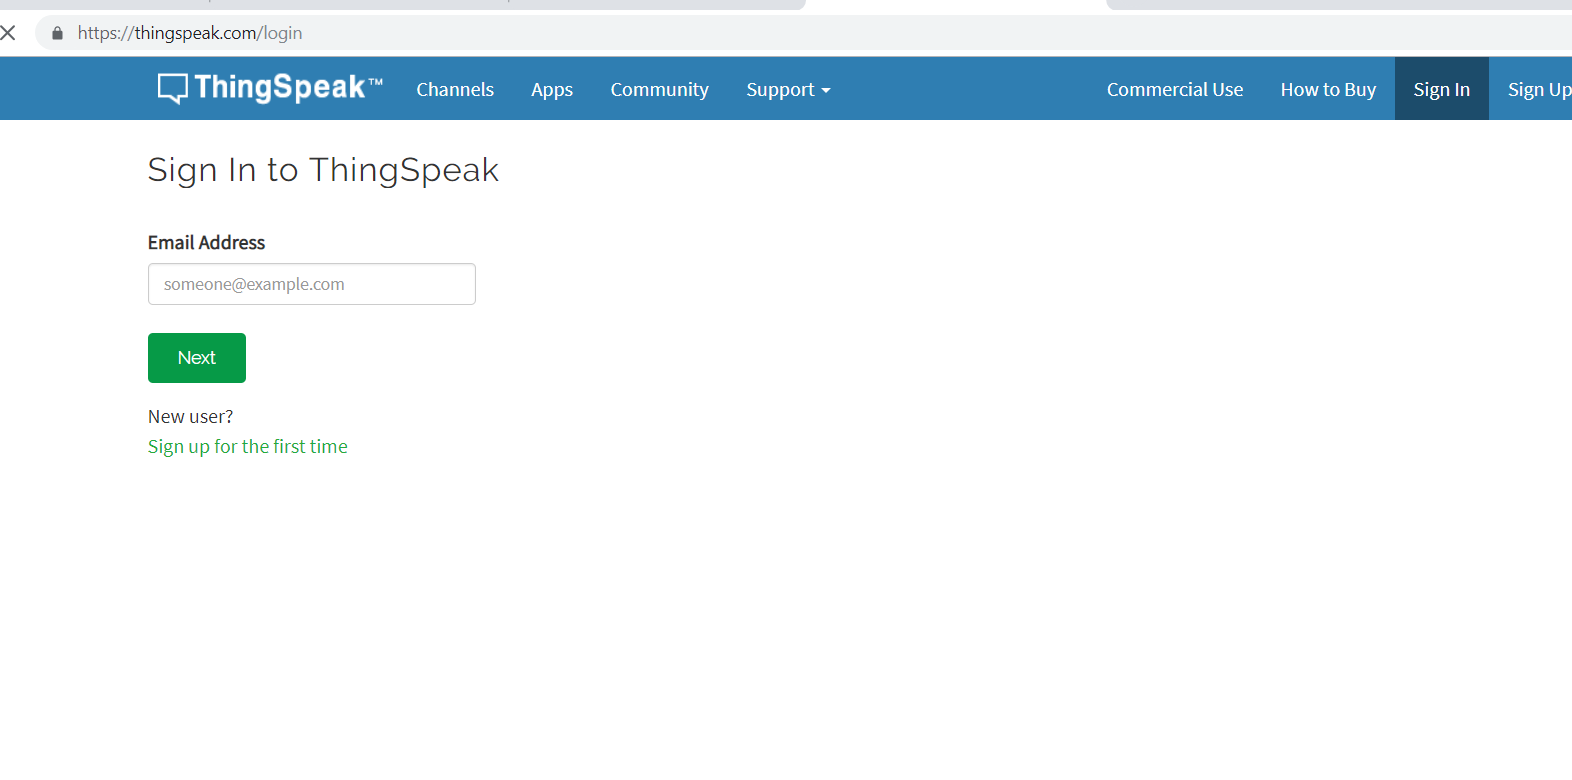
In this picture show us that how to sign in this page .
Create a channel
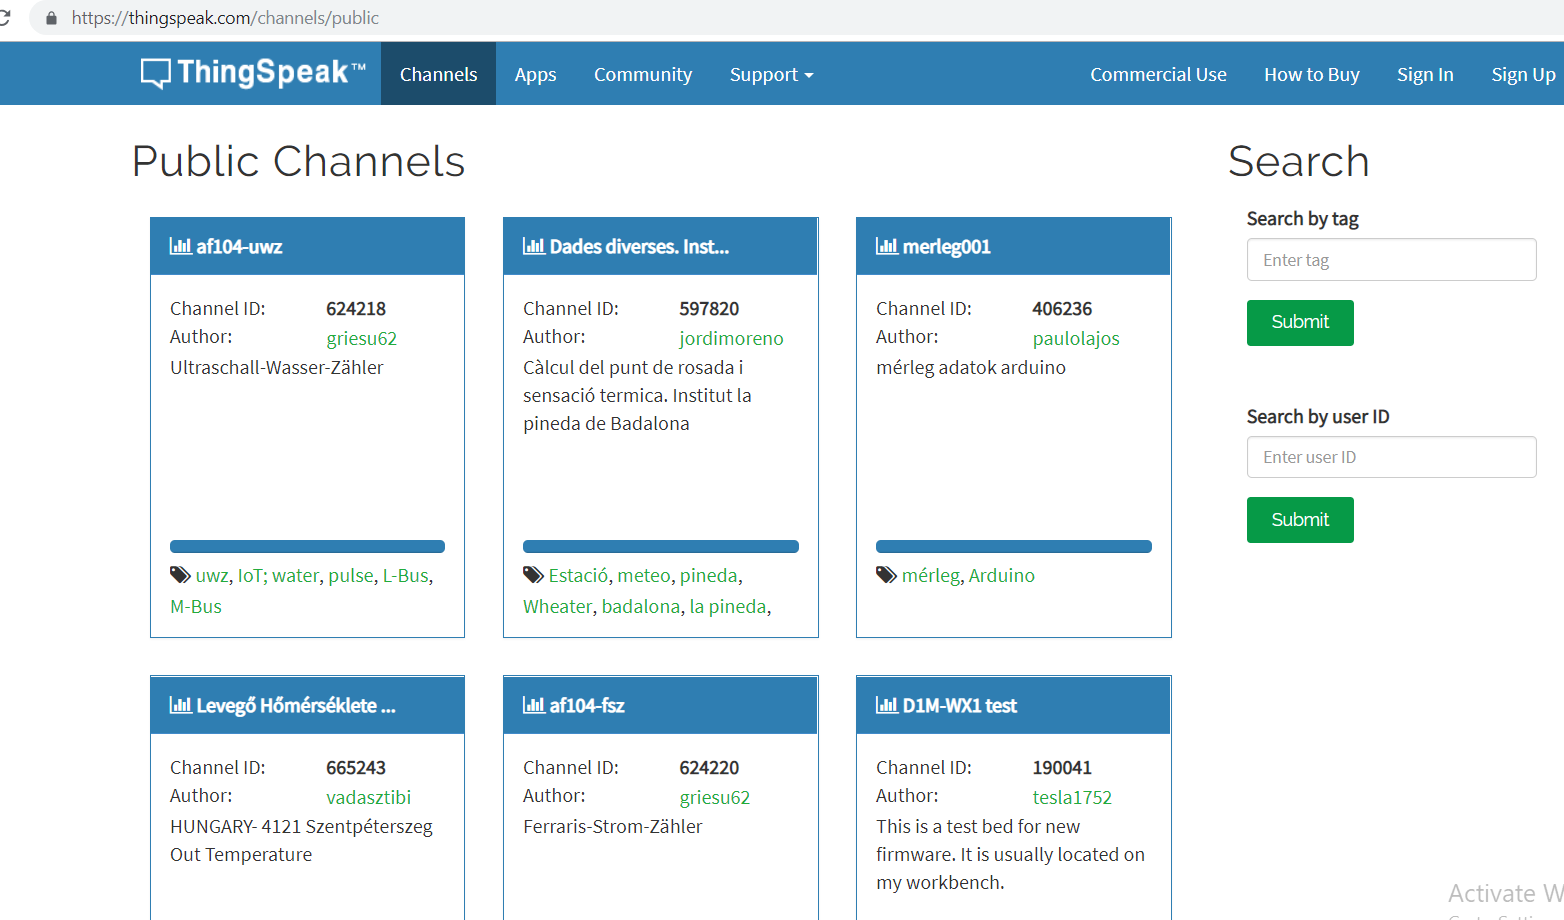
In this picture show us that how to create our own channel in this and upload our project in this.
Feel this Details:/h3>
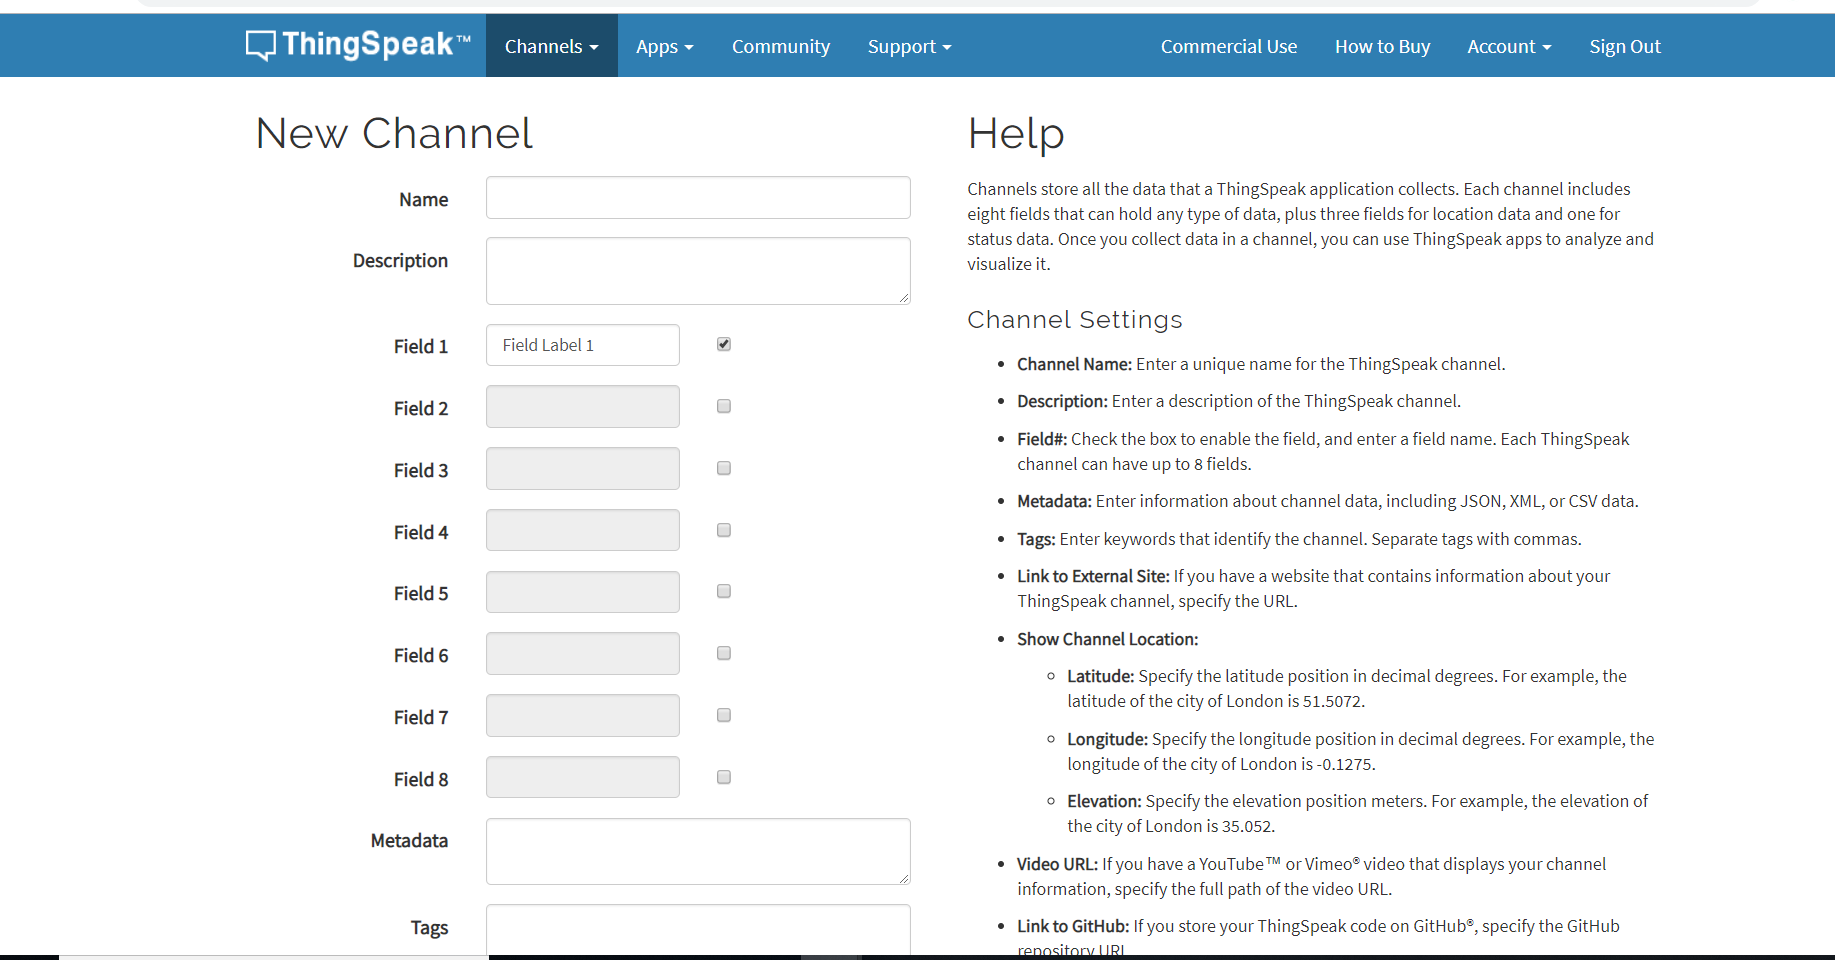
Channels store all the data that a ThingSpeak application collects. Each channel includes eight fields that can hold any type of data, plus three fields for location data and one for status data. Once you collect data in a channel, you can use ThingSpeak apps to analyze and visualize it.
API Keys
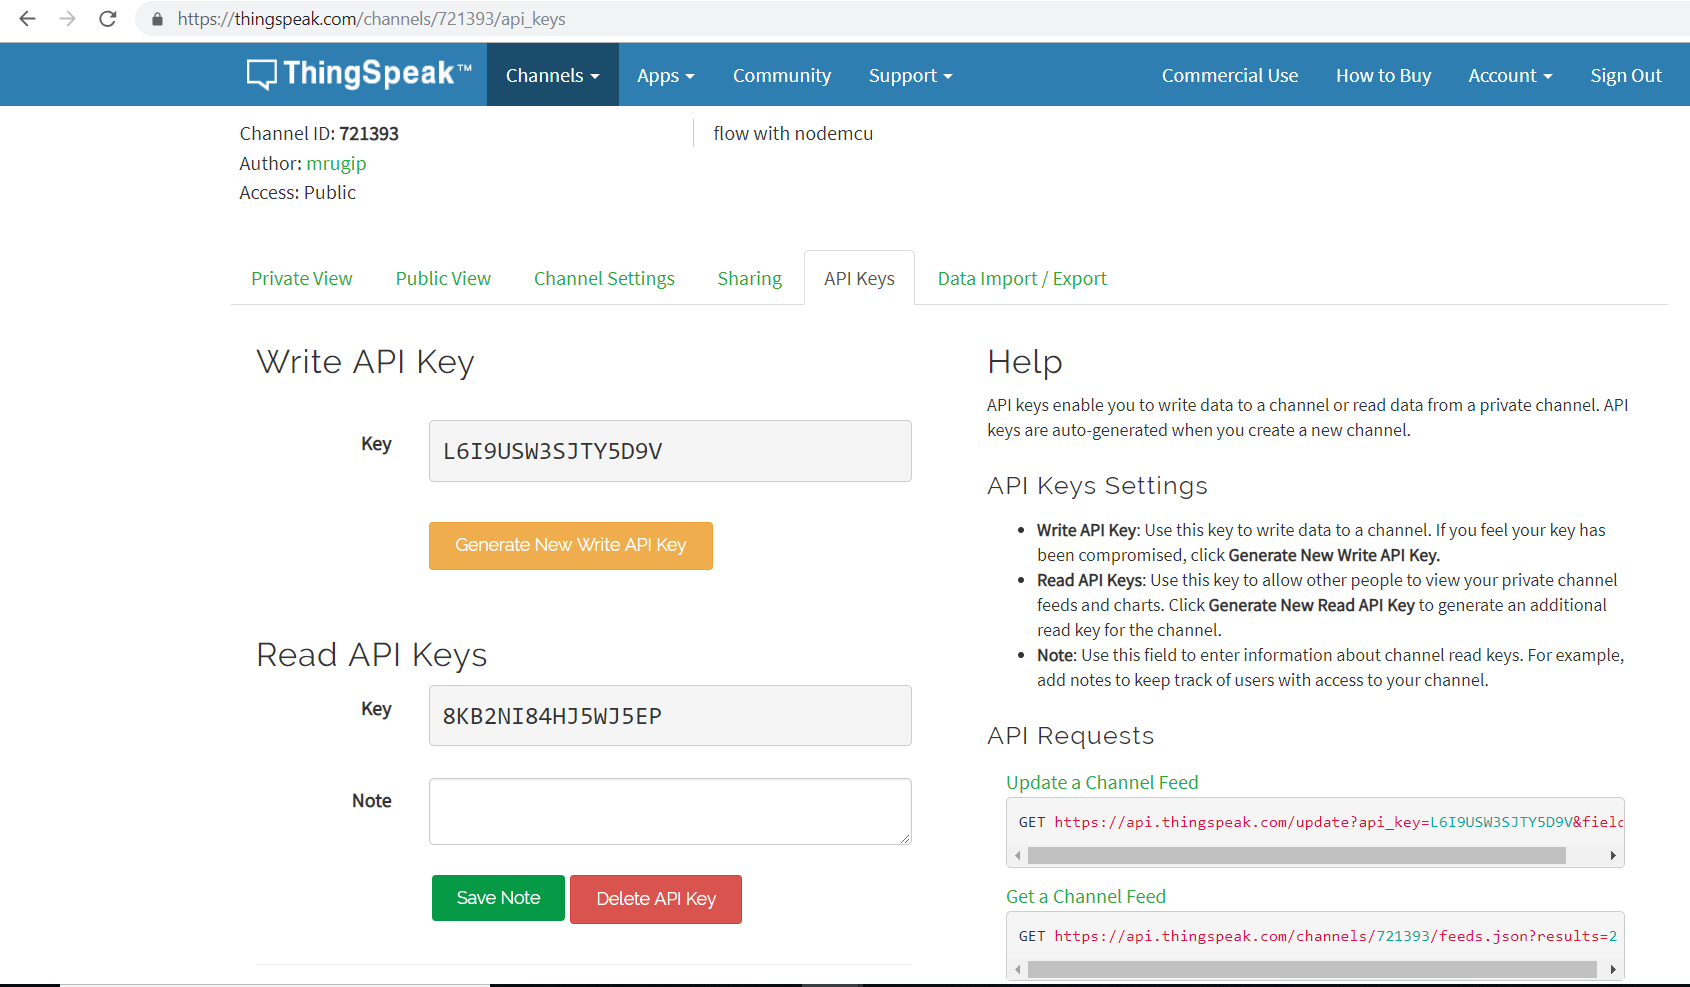
API keys enable you to write data to a channel or read data from a private channel. API keys are auto-generated when you create a new channel.
Copy key
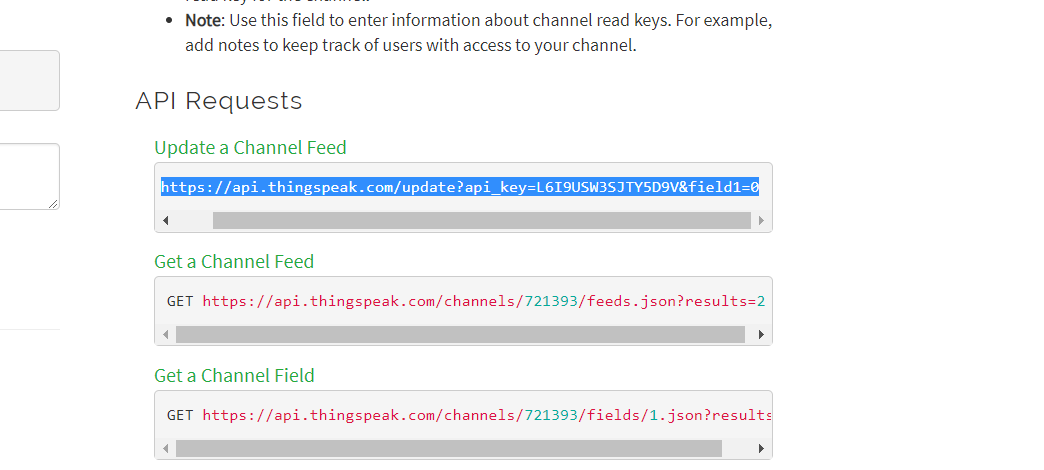
In this part you saw that when you create your channel you get your different key. so copy that key and pate it into the new tab and then you see the result.
Output
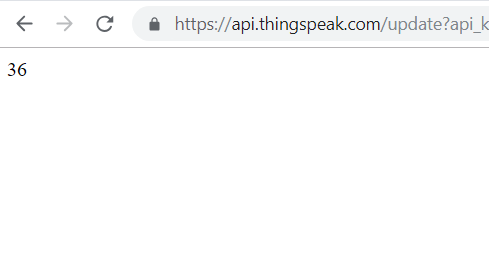
When Api key is enable then after you see this output .
Key in code
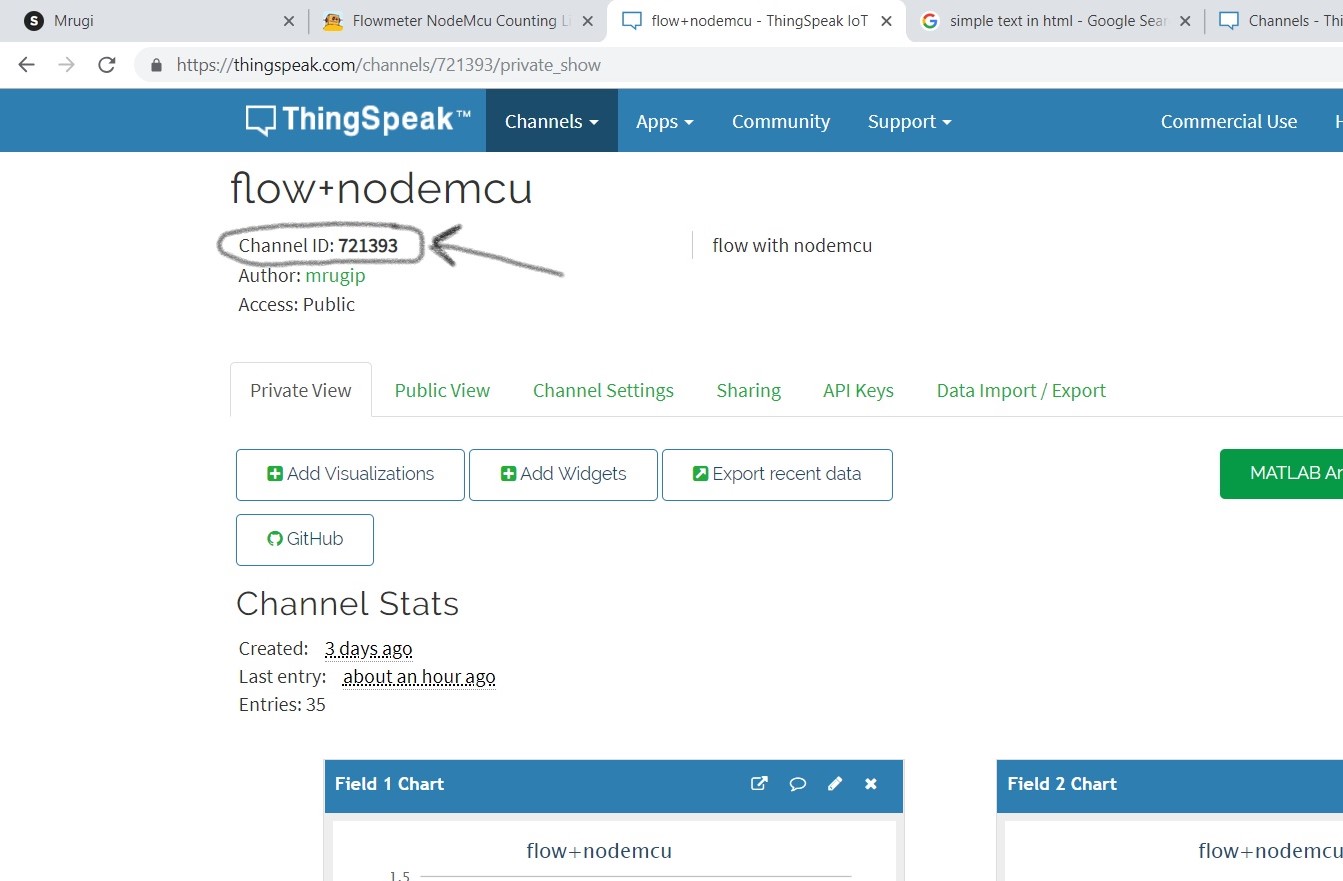
In this Image we saw that while we create a channel that we get diffrent ID so copy this Id and put that id into your nodemcu + flowmeteer code. so u=you get the result.
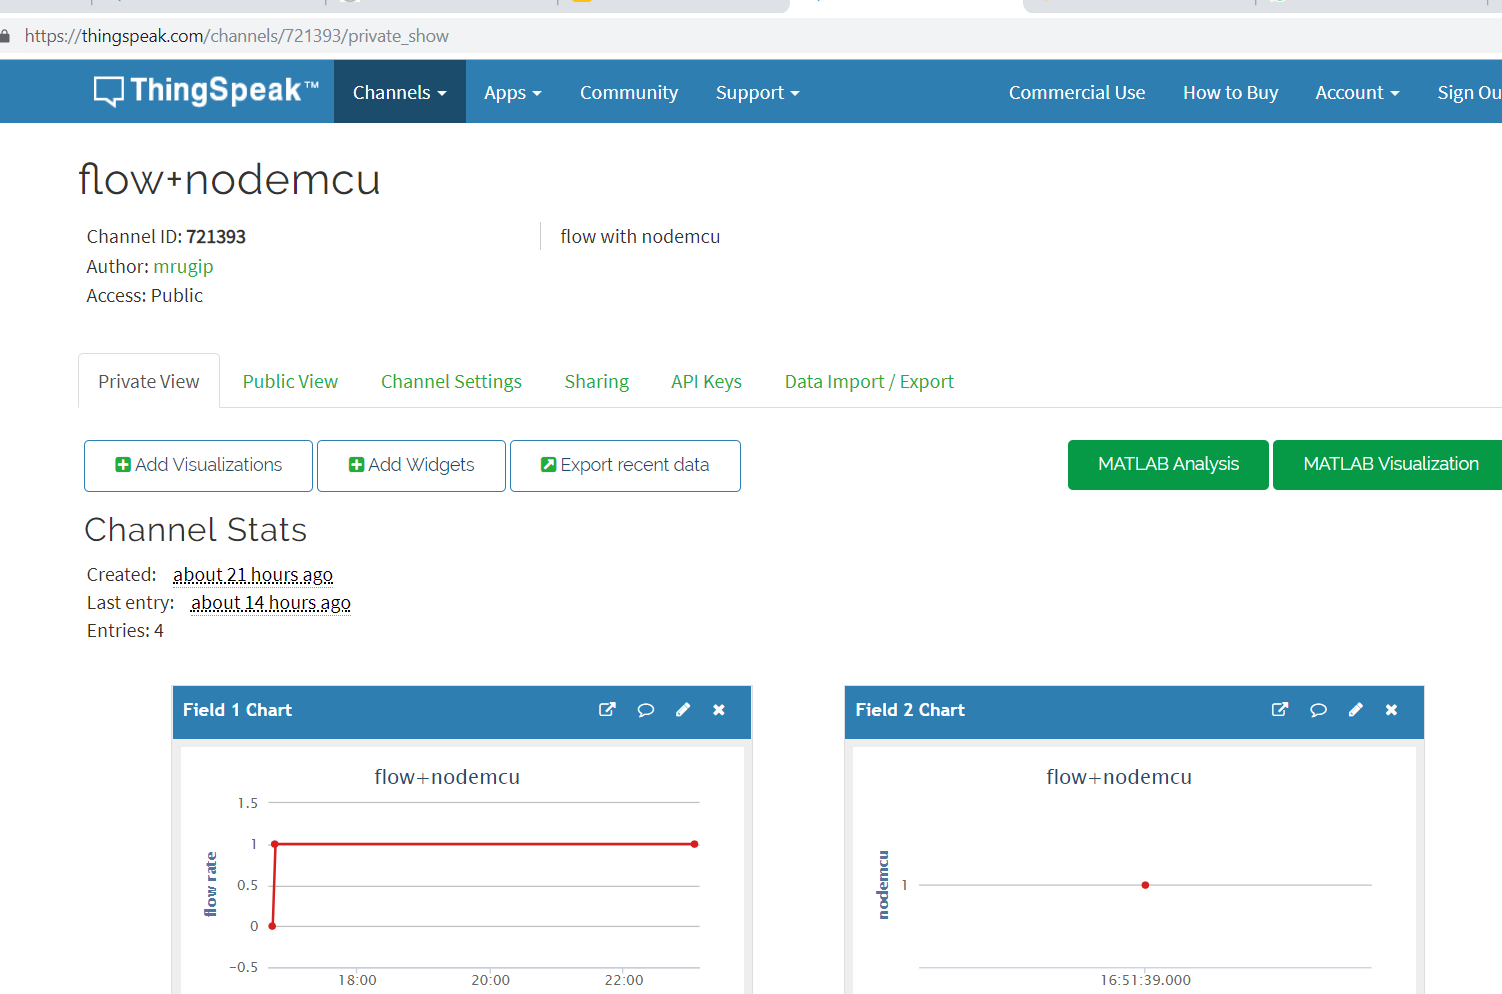
Final Output
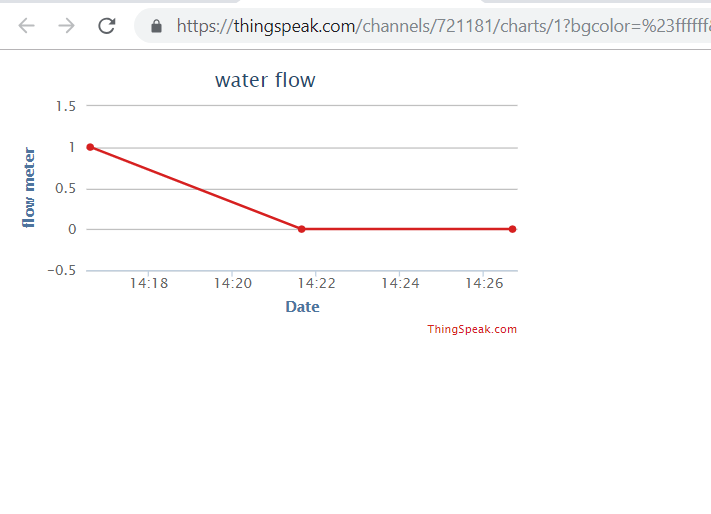
In this Image it is a final output of our channel and project. it show us the flow of my wtaer meter graph.
Final Result
In this picture show us that when we create a channel and then we see this type of output.
·Nodemcu
What is Nodemcu
NodeMCU is an open source IoT platform. It includes firmware which runs on the ESP8266 Wi-Fi SoC from Espressif Systems, and hardware which is based on the ESP-12 module.
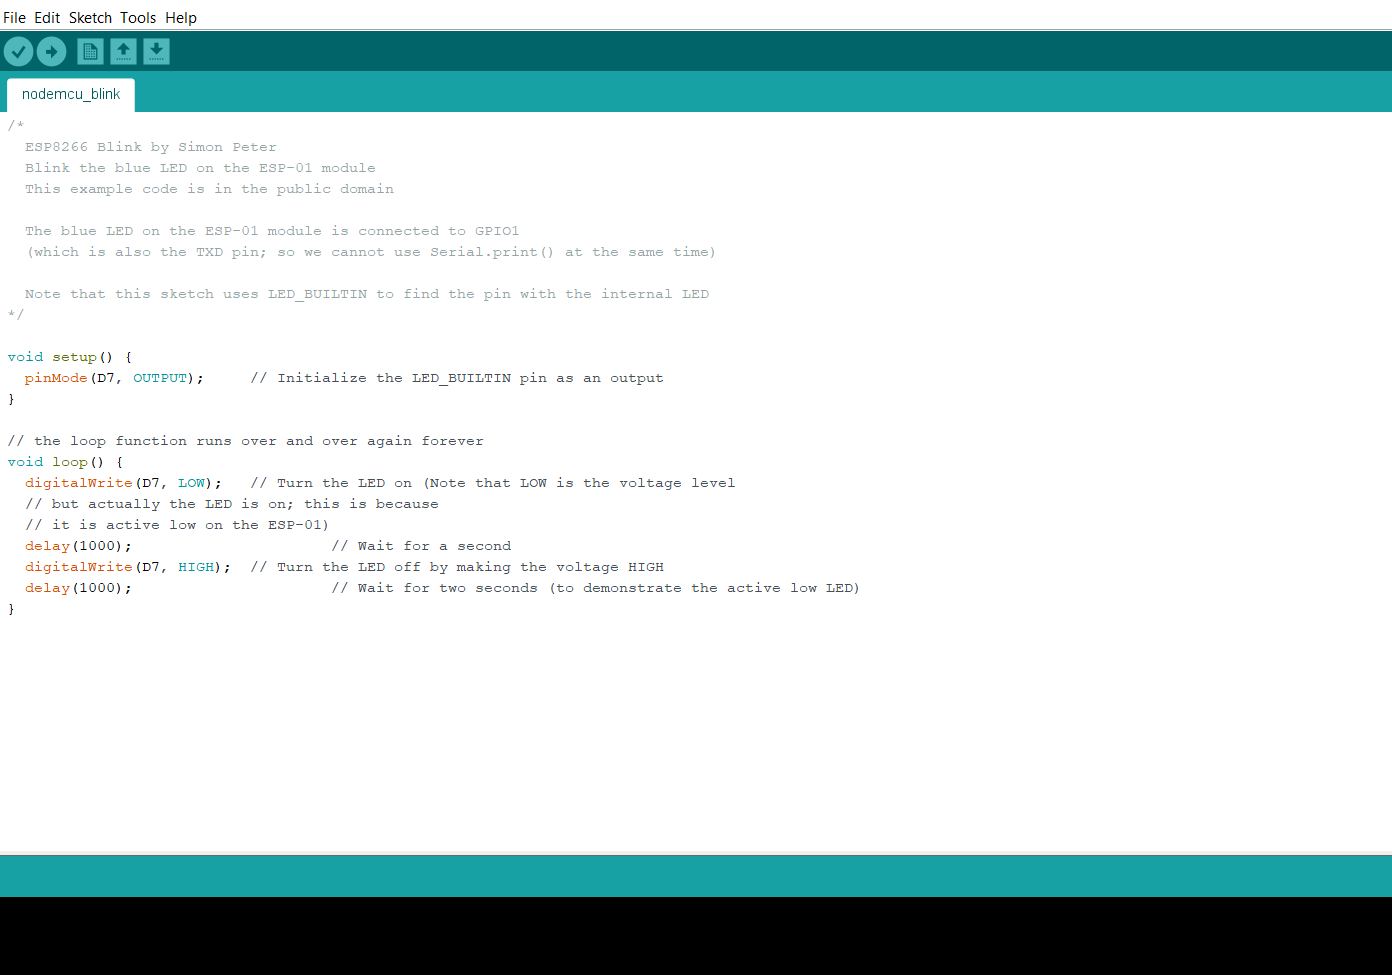
·code of nodemcu
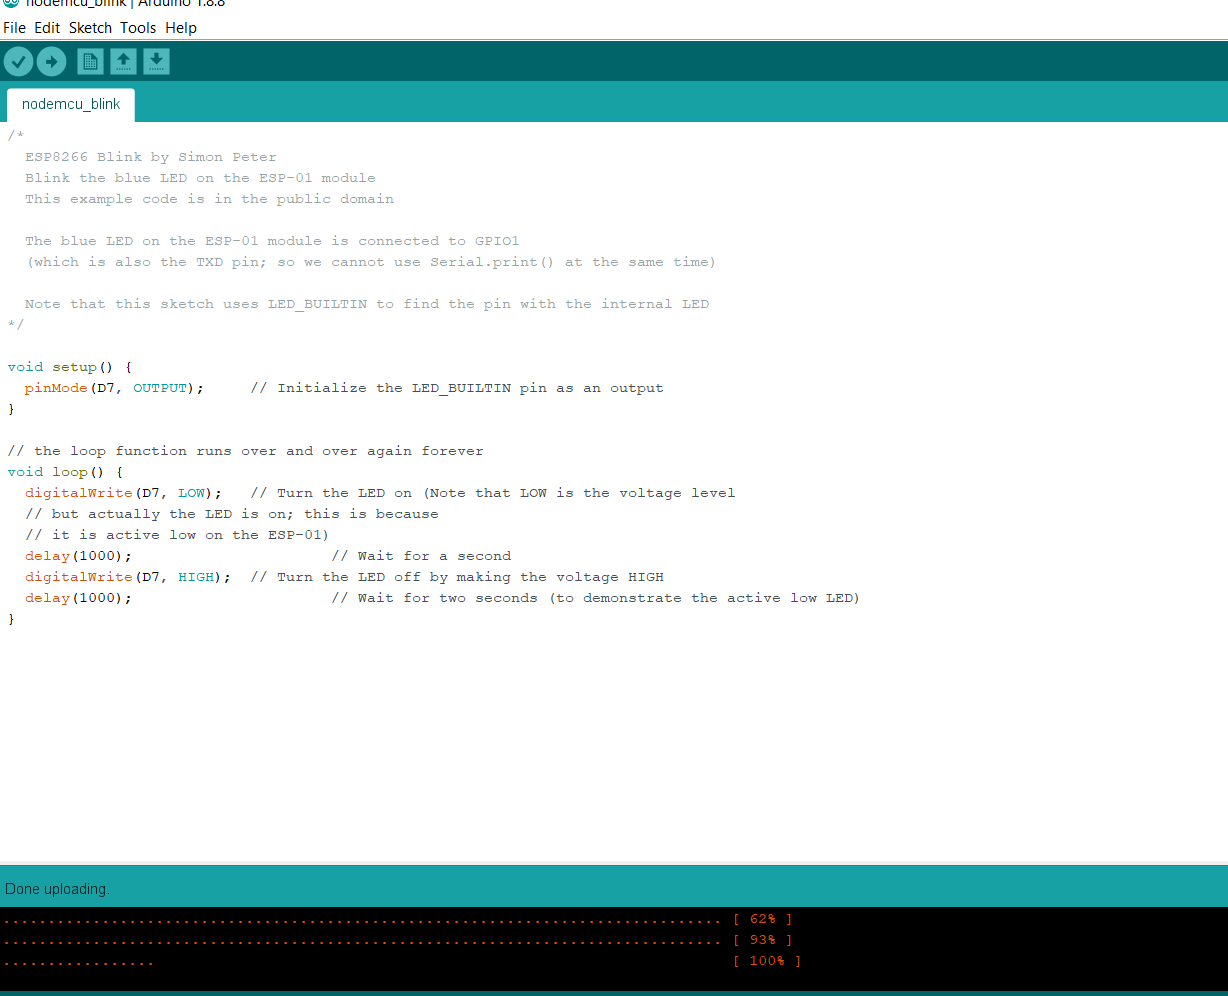
Here is the code of basic nodemcu blink.
· Steps
Step 1: What's Needed?
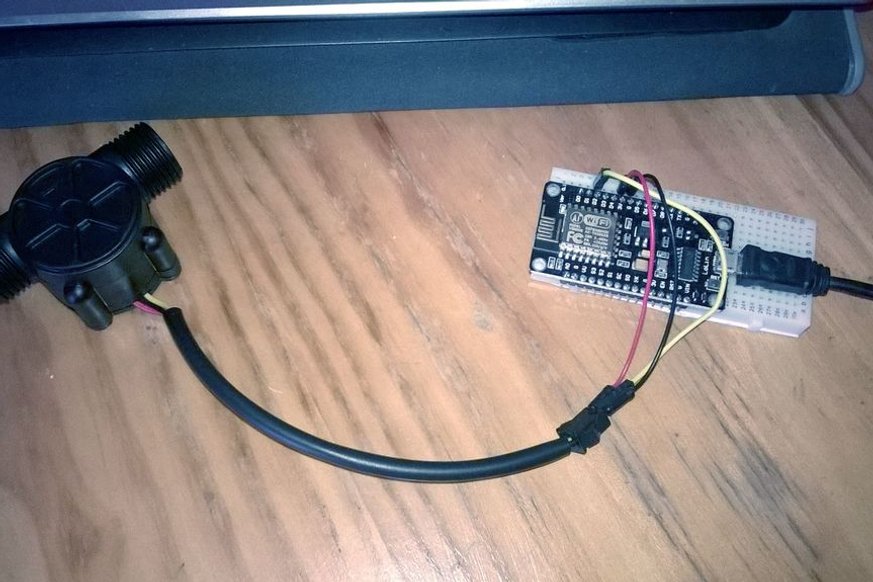
The hardware connection is done by attaching 3 cables (jumper cables) between the flowmeter and the nodemcu, in order to get the on/off pulse generated by the flow of water and thus count for the litres
Cable connections (use the breadboard cables, male-to-male)
· Connect the red cable output from the flowmeter to the 3.3v pin on the nodemcu.
· Connect the black cable output from the flowmeter to "ground" on the nodemcu.
· Connect the yellow cable output from the flowmeter to the control pin on the nodemcu (in my case the D2 pin).
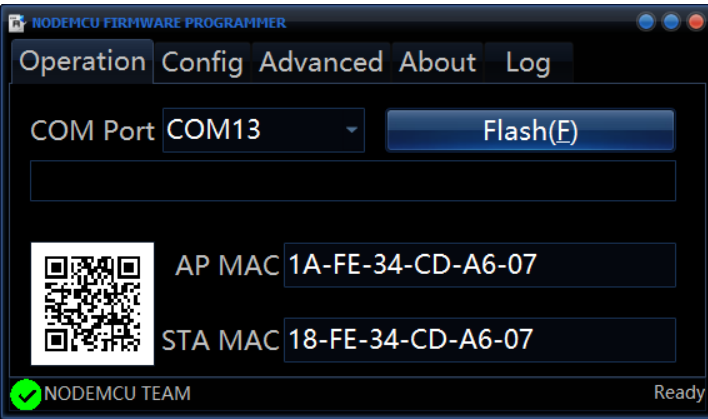
Before any code, you may need to flash new firmware into the NodeMcu, use ESP8266Flasher
(https://github.com/nodemcu/nodemcu-flasher).
Step 2: Upload the code in Arduino
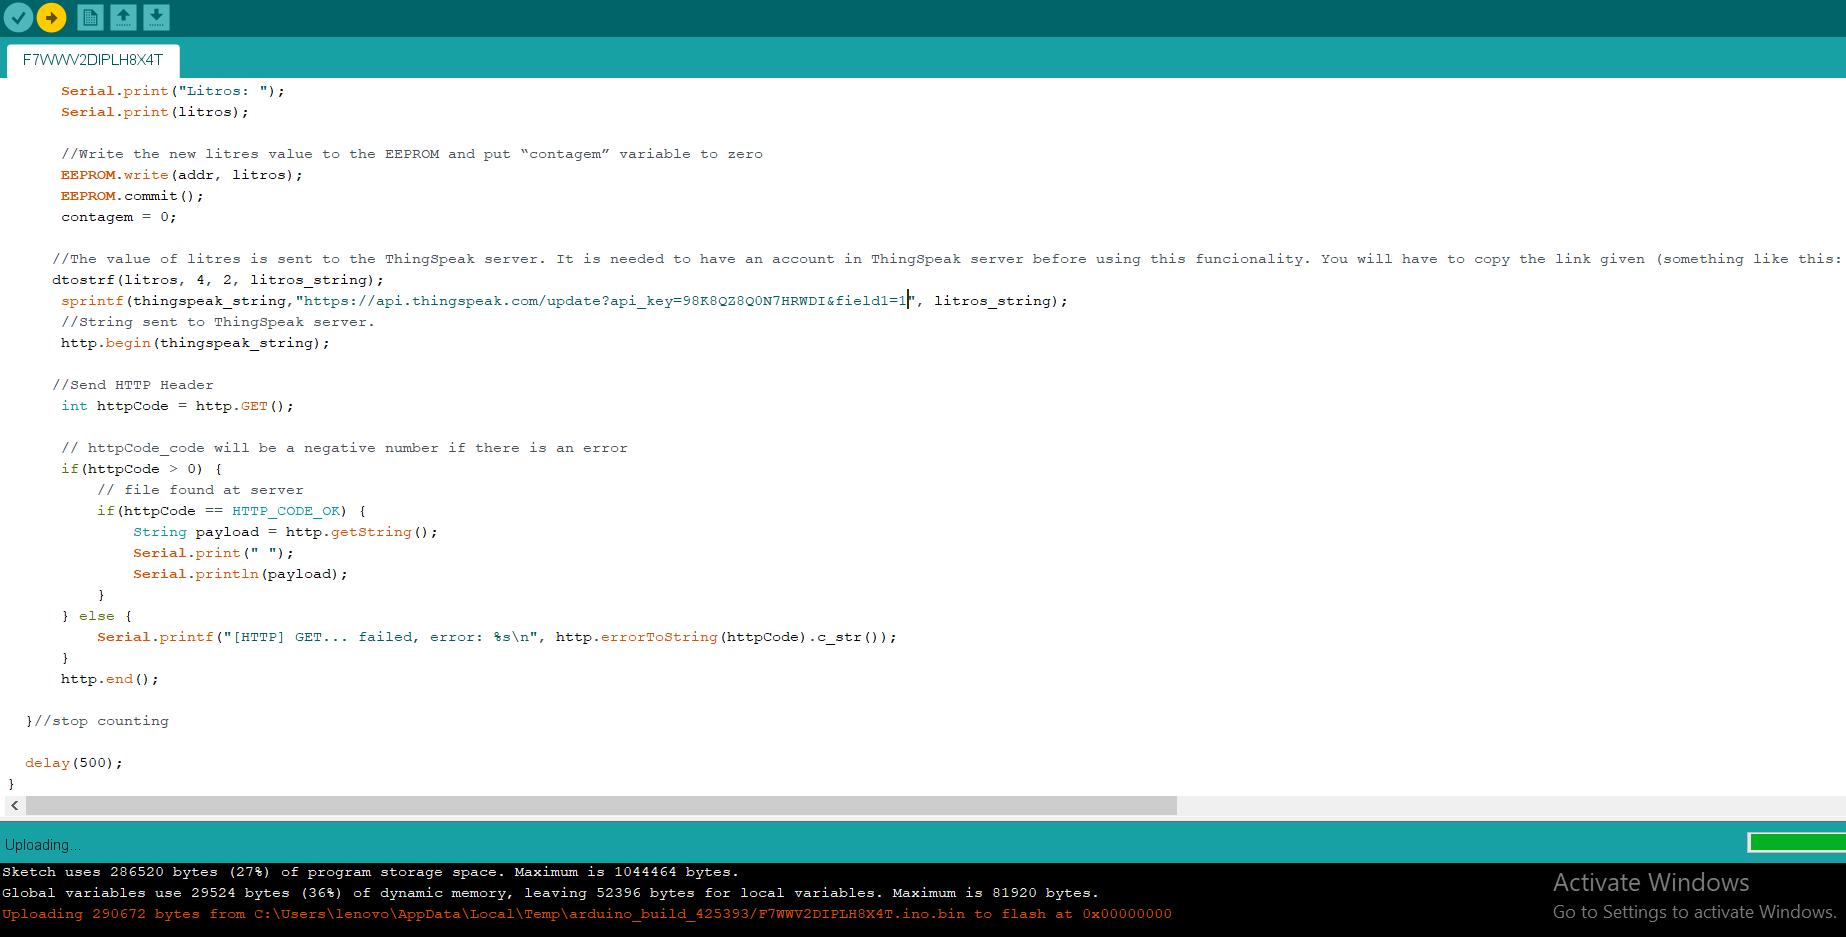
here is the code of nodemcu + flowmeter.
Step 3: put this in ThingSpeak
In this part you create a channel and then when you create a channel then after follow the above thingspeak steps and then you see this type of output.
Step 4: Data Fetch in Your Github page
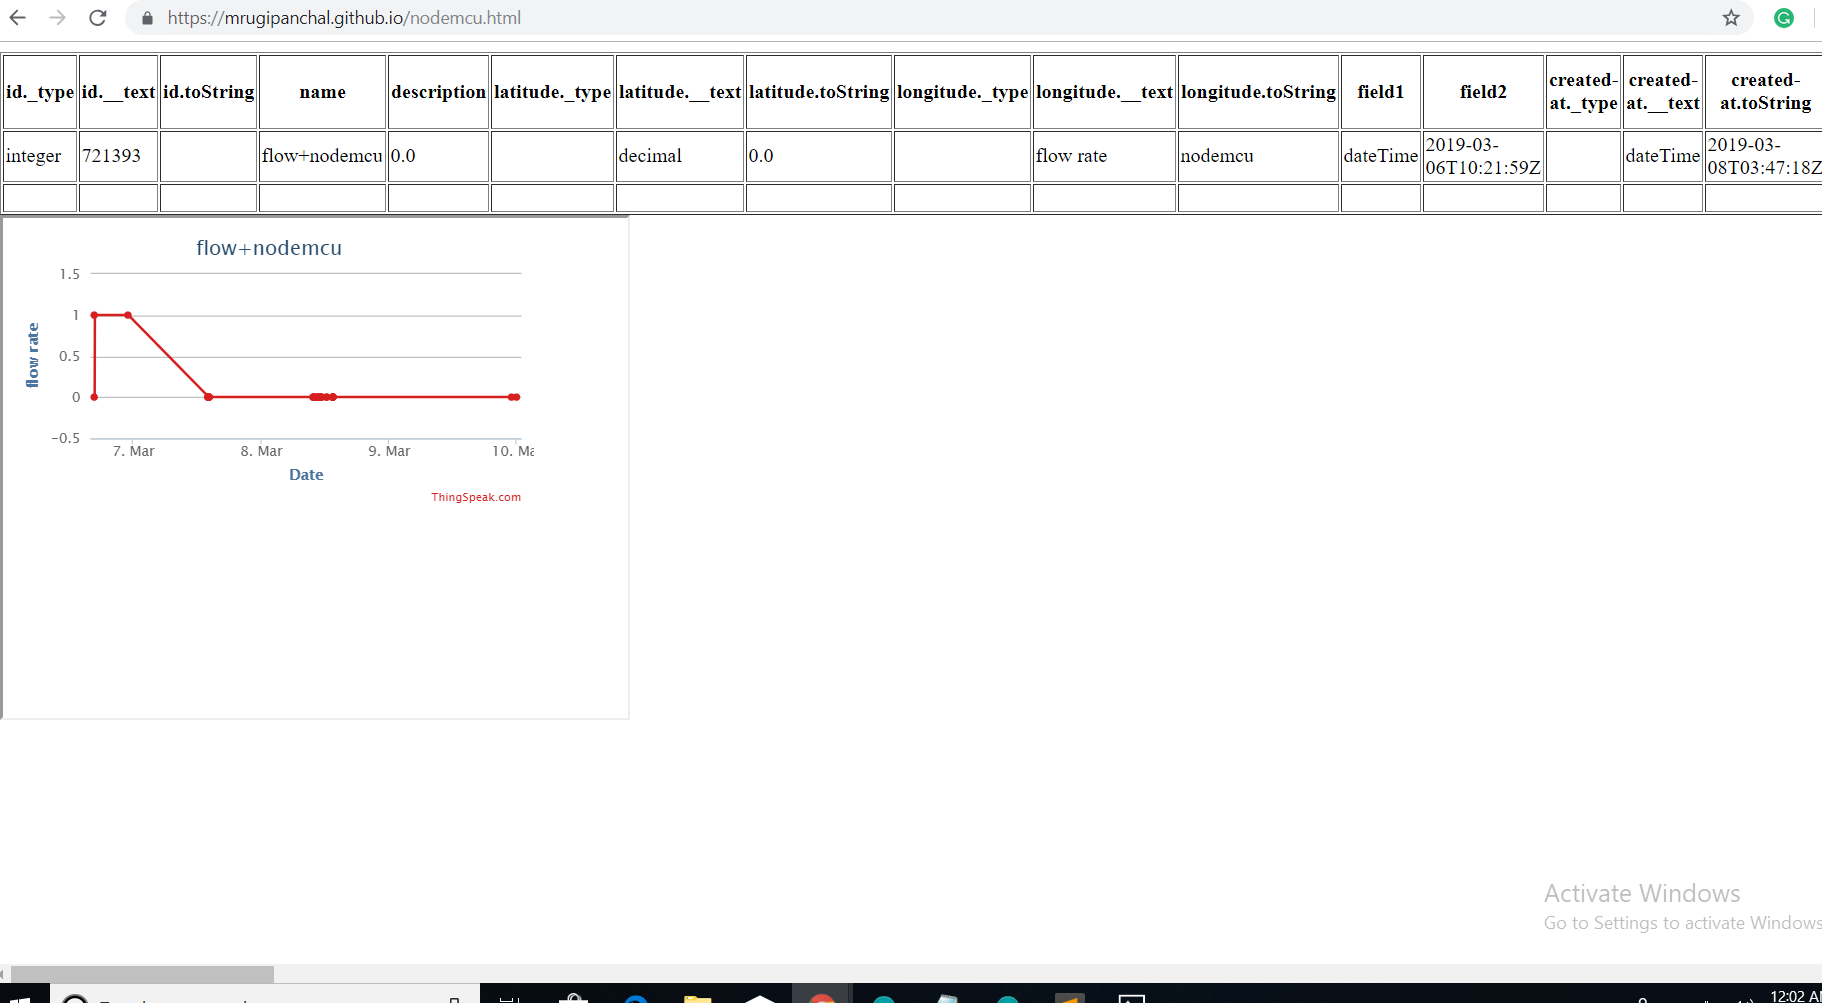
here is the final output of my project.
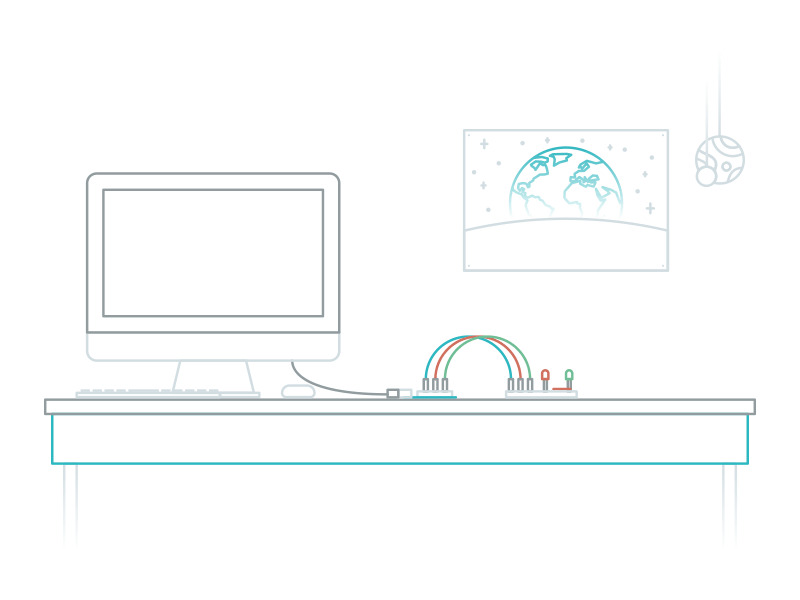
Step 5: Circuit
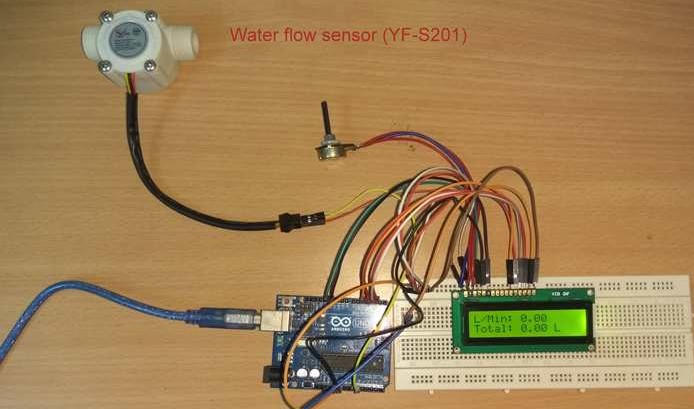
In this pic connect Flowmeter with Arduino and i Display it with use of Lcd Diplay. conect them and code put in arduoino software and upload the code then you get the final output.
Issues i found My web link
process of my web
About Week 3
In this week We got to learn Arduino. in this we face many querys and problems but we learnt Arduino and how to make a project using Arduino. Also i leart how to use nodemcu, flowmeter, and how i fetch the data in ThingSpeak, and use of this how i Fetch the data in my github page.
Tools
- Arduino
- ThingSpeak
I Learn
I learn so many things in it which help me to use arduino, ThingSpeak, etc.